
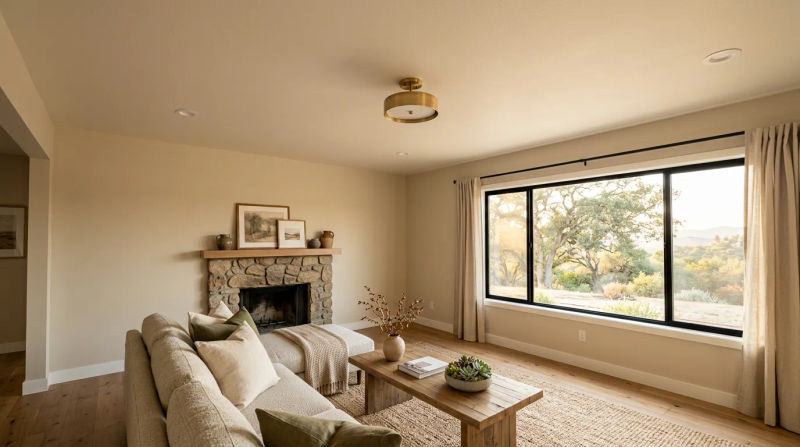
As a Senior Specialist with Drywall & Restoration LLC, I’ve seen firsthand how the first fall rains in Ramona can reveal problems homeowners didn't even know they had. After a long, dry summer, a sudden downpour can find its way through a tiny roof vulnerability, and the first sign of trouble is often a dreaded brown spot on the ceiling. That was exactly the situation for a homeowner here in Ramona this past October. They lived in a beautiful two-story home, built in the late 1990s, with a grand vaulted ceiling in the living room. After the first significant rain of the season, a large, unsightly water stain appeared right in the middle of that high ceiling, turning their architectural feature into a source of stress.
They had already called a roofer to fix the leak, but now they were left with the cosmetic aftermath. The stain was impossible to ignore, and they were concerned about potential hidden damage. They needed a team that could not only perform a ceiling drywall repair but also perfectly match the complex texture and paint on a difficult-to-reach surface. They reached out to us at Drywall & Restoration LLC, looking for a seamless, professional solution.
The Assessment
When I arrived at the Ramona property for the initial inspection, the challenge was immediately clear. The water stain was about three feet in diameter on a ceiling that soared to nearly 18 feet at its peak. This wasn't a simple flat-ceiling patch job. The home's 1990s construction meant it had a specific, light orange-peel texture that can be tricky to replicate perfectly. An improper patch would stick out like a sore thumb, especially with the natural light that flooded the room.
My first step was to use a moisture meter to determine the extent of the water saturation. The drywall was still damp in the center of the stain, even though the roof leak had been repaired weeks prior. This confirmed that the affected section of drywall was compromised and needed to be completely removed and replaced. Simply painting over it with a stain-blocking primer wouldn't be a lasting solution; the paper facing was delaminating, and the gypsum core was weakened. This was a classic case requiring a professional drywall patch after leak Ramona homeowners often face.
I explained to the homeowner that our approach at Drywall & Restoration LLC is always to address the root of the problem for a permanent fix. We discussed the process in detail:
- Safe Access: We would need to erect interior scaffolding to work safely and effectively on the vaulted ceiling.
- Containment: Our crew would create a full dust-containment chamber around the work area to protect their furniture, flooring, and the rest of their home from construction dust.
- Repair and Blending: The core of the job would be to replace the damaged drywall and then meticulously blend ceiling texture and paint Ramona style to make the repair completely invisible.
They appreciated the thoroughness of our assessment and the clear plan we presented. They gave us the green light to restore their ceiling to its original pristine condition.
Our Solution
Our three-person specialist crew from Drywall & Restoration LLC began the project the following Monday. Our first priority is always respecting the client's home. We carefully laid down rosin paper and plastic sheeting, creating a protected path from the front door to the living room. Then, we built a floor-to-ceiling plastic dust barrier complete with a zippered entry, effectively isolating the workspace.
Once the scaffolding was securely in place, we began the repair. We precisely cut out a square section of the damaged drywall, extending about six inches beyond the water-stained area to ensure we were tying into solid, dry material. This allowed us to inspect the ceiling cavity, confirming there was no mold growth and that the insulation was dry. With everything clear, we installed a new piece of moisture-resistant drywall, securing it firmly to the ceiling joists.
The artistry of our trade truly begins with the finishing process. We applied fiberglass mesh tape to the seams and began applying thin, successive coats of joint compound. The higher humidity of the October weather meant we had to be patient and strategic with drying times. We used industrial fans to promote air circulation between each of the three coats of mud, ensuring each layer was fully cured before we sanded it to a perfectly smooth, feathered finish. This meticulous process is crucial for preventing cracks and creating a seamless surface.
Next came the most critical step: texture matching. Using a professional hopper gun and a custom-mixed texture spray, our lead finisher applied a light orange-peel texture to the new patch. He skillfully feathered the spray at the edges, blending it flawlessly into the surrounding ceiling. This is a technique that takes years to master, and it's a point of pride for our team at Drywall & Restoration LLC. After allowing the texture to cure, we applied a high-quality stain-blocking primer to the entire repaired area to guarantee the old water stain would never bleed through.
Finally, we addressed the paint. We had taken a small sample of the existing ceiling paint during the assessment and had it professionally color-matched. We applied two coats of premium ceiling paint, carefully feathering the edges and rolling out the entire patch area to avoid any